
Caddy has long caught my attention as a much nicer alternative to Apache or Nginx which has been widely used by red teams over the years. As a bit of a project to learn more about Caddy and GoPhish, I wanted to try and combine the two to create one time phishing links by leveraging the GoPhish API.
This technique is commonly used as an anti-analysis technique, by offering a payload to the 1st clicker of a link, then offering a non-malicious payload on any subsequent investigation. This can be tweaked based on the environment which you are facing, as you might not always want the link to only be used once. If you read @APTortellini’s post, you can see how else we could extend this…
GoPhish Setup
To start, lets install GoPhish. As this is not to be used in a real engagement/I am being lazy, I will take the pre-built version from their releases.
After unzipping the file, I made the gophish file executable and ran it which exposes a local webserver on https://localhost:3333. This is used to control the server, the initial sign-in details are put into the console for us.
AWS SES Setup
In order to actually send emails, we need to set up an SMTP server for us to send from. Unfortunately this is against the terms of most of the big cloud providers, but I will use AWS SES, as it is low cost option for sending emails out. This does have notable drawbacks for offensive usage, as you will be banned if they receive abuse notifications.
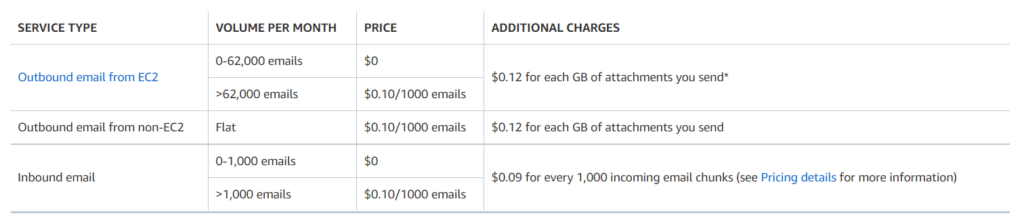
Regardless, it will be fine for a quick and dirty PoC of single usage phishing infrastructure! Below is the cost at the time of writing:
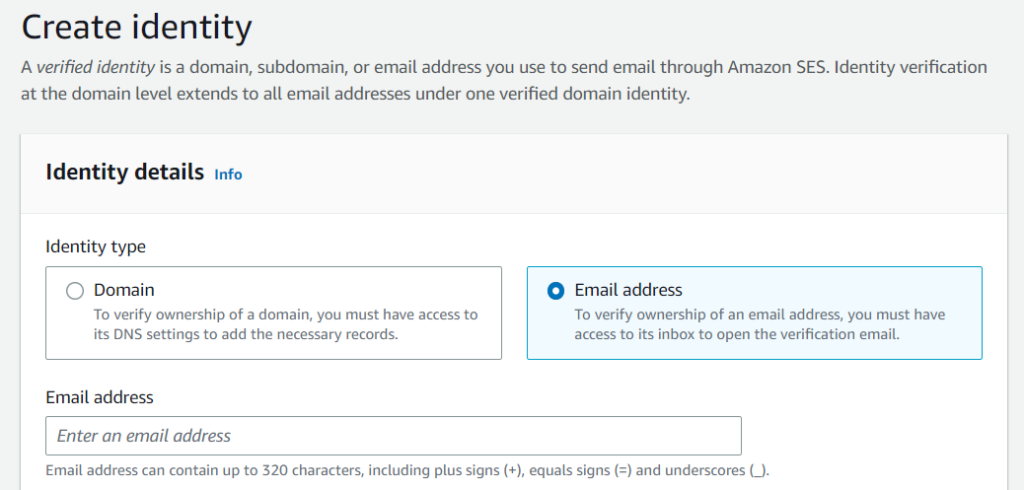
One of the main drawbacks is that we can only send emails to verified email addresses. Lets verify ownership of our target email.
After clicking on the link in the email, we are verified!

We will now create SMTP settings within SES.
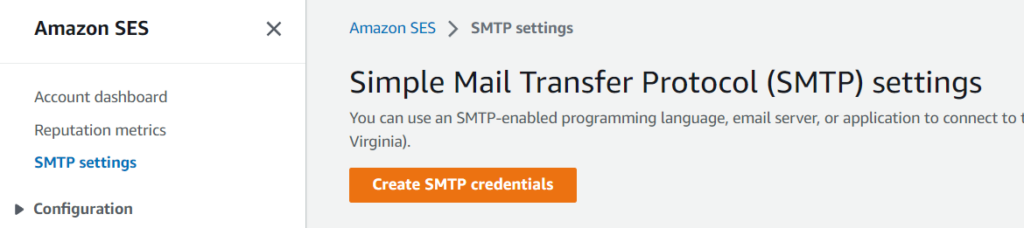
I will create a user and then download the credentials from the next page. I will also verify a second email address within SES. This means I can send emails to an actual inbox, rather than the default SES sandbox.
GoPhish Campaign Creation
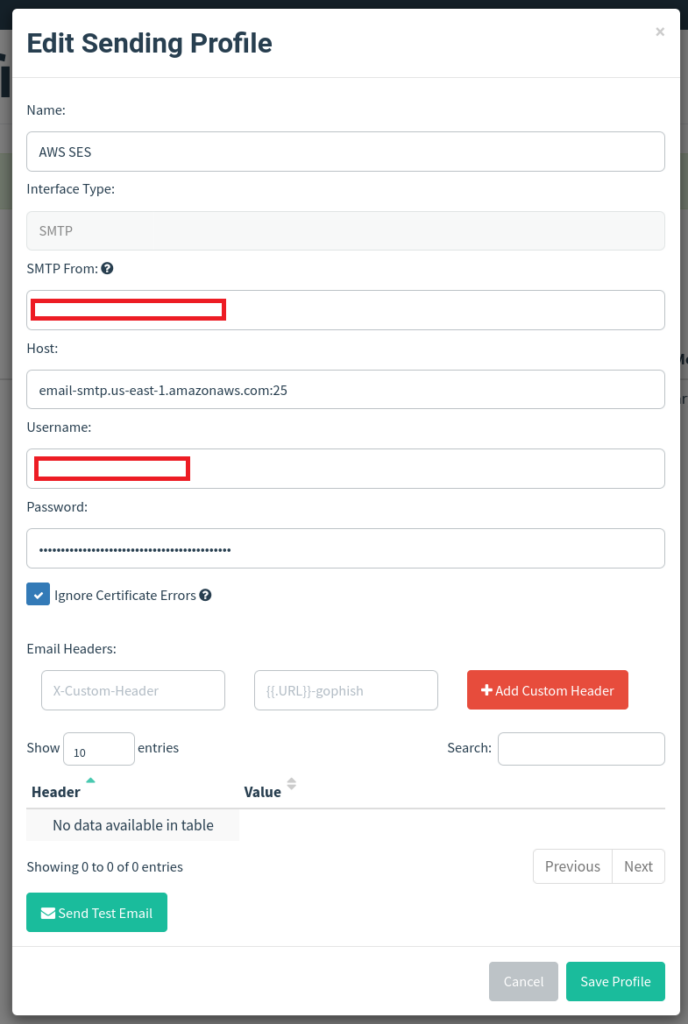
Back in GoPhish, I will add these SMTP settings into a Sending Profile
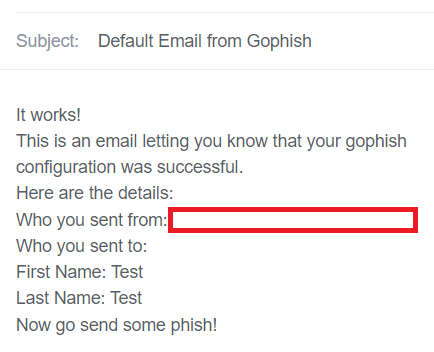
I then used the Send Test Email button to verify I had configured this correctly. We then receive the following email in our targets mailbox:
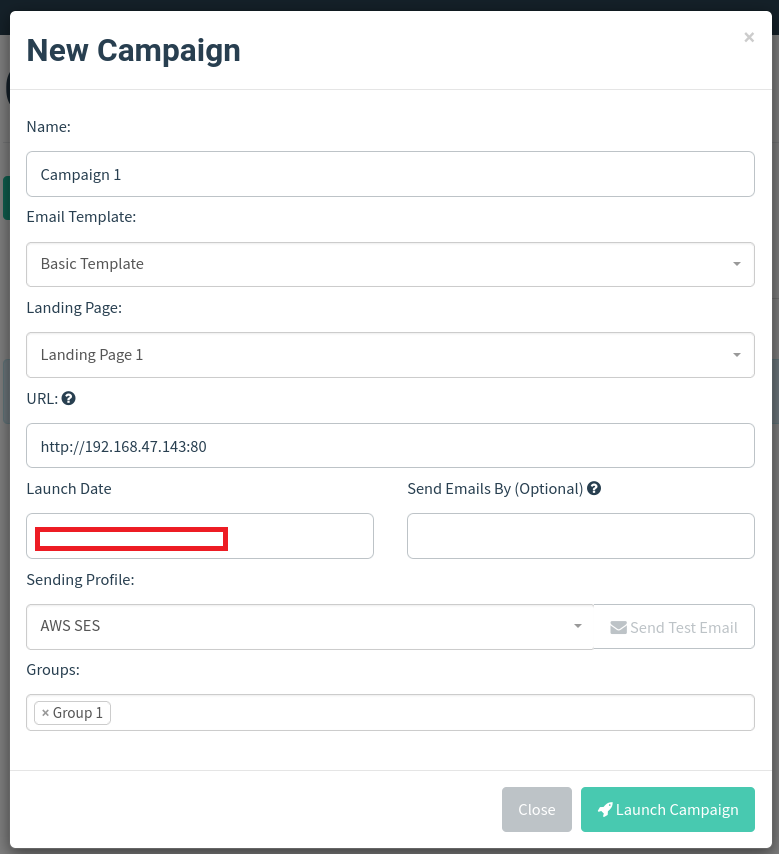
With this working, I configured some basic templates, groups and landing pages in GoPhish. I then configured a Campaign and launched it.
After sending, we get a really clean looking UI within GoPhish, showing we have managed to send out our email.
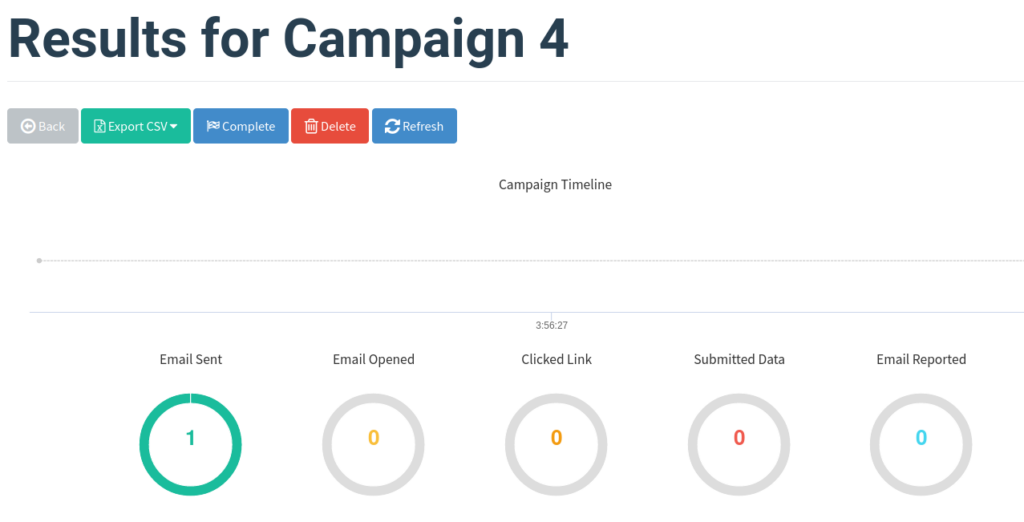
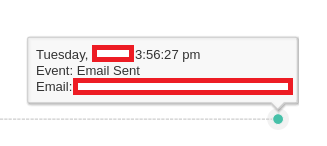
This page will also show details on who we have targeted and key events on a timeline.
Caddy Setup
Now lets spice it up a little and add some phishing payloads into the mix. We can very easily include an HTML link and send users onto our payload server, which works fine for basic payloads but would mean our payloads could be downloaded by the blue team!
Using Caddy, we can make a basic payload server which will allow us to allow or deny file downloads based on their suffix. For instance, the Caddyfile below will sinkhole any traffic which isn’t to a /downloads/* URL, and will only serve the payload to those URLs within the valid_download_prefixes list – we will generate these later on!
# Only handle traffic which matches our download URL
handle /downloads/* {
    # Only allow downloads from explicitly set URLs.
    @valid_download_prefixes {
        import ../filters/valid_download_urls.caddy
    }

    # Handle requests which contain a valid prefix
    route @valid_download_prefixes {
        import valid_download.caddy
    }

    # By default, assume we will block downloads as being expired
    import expired_download.caddy
}

# A catch all to sinkhole any other traffic which doesnt match a URL above.
handle {
    import sinkhole.caddy
}
For example, if we set the valid_download_prefixes.caddy file to include path *abc123, then only URLs which end in abc123 will be allowed to download the file, such as /downloads/SOME_TEXTabc123. This is better, but still means that when a valid URL is obtained, then the payload can be downloaded multiple times.
For example, if we apply this configuration, then any URL ending in abc123 will receive the legitimate payload.

But if we try with an ‘invalid’ URL, we get the following error message.

And if we are barking up entirely the wrong tree then we can show a completely different error message via the final handle statement above.

GoPhish API
Using Python and the GoPhish API, we can add some logic to make these URLs only be valid for a single click. First we will need to obtain an API key for GoPhish by visiting the /settings URL. I then installed the official Python library.
We will then get the details on a specific campaign (Assuming we use 1 payload server per campaign). In this case, we will use Campaign 9.
campaign_name = "Campaign 9"
campaign = next((x for x in api.campaigns.get() if x.name == campaign_name), None)

if not campaign:
    print(f"Campaign name '{campaign_name}' not found in GoPhish. Try again!")
    exit()

# Now lets get the unique ID given to all of the targets.
for result in campaign.results:
    print(f"query id={result.id}")
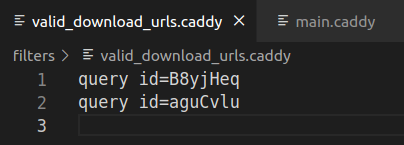
We can take these ID’s and edit the valid_download_urls.caddy file, so that only the IDs generated by GoPhish will work.
Looking at the output of the API, our target was given the ID of b5KcKSx:
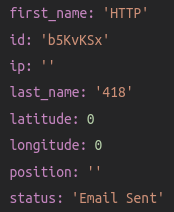
The Python script will then parse this out and add an entry to our filter in Caddy. For this example, it will require the id parameter to contain this unique ID in order for a legitimate payload to be delivered.
query id=b5KvKSx
Now we have an auto-generated phishing URL based on the values from GoPhish. If we now access our final URL, then any requests to the /downloads folder containing a query parameter of id=b5KvKSx will obtain the payload.

If a different query parameter is used, then they will get a different response. In this case we will show an ‘expired’ message to add legitimacy, but this could be replaced with anything.

So we are a step closer now, but this isn’t a one time phishing URL just yet!
One Time Phishing
We can use the access logs generated by Caddy to generate a list of visited URLs, which we can then parse to ‘invalidate’ (i.e. redirect traffic) any of our download links. We can easily do this with a command to find the URLs we visited earlier:
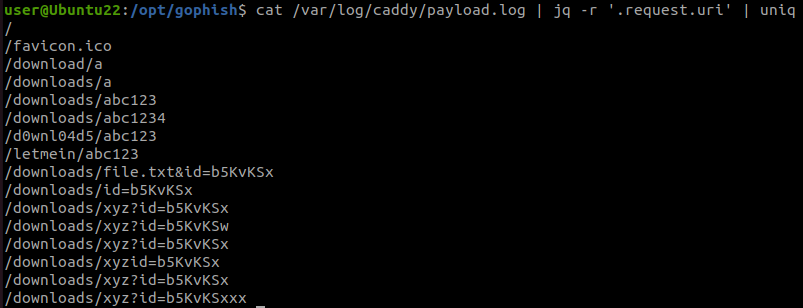
With a Python script, we can check for any visited URLs and remove them from our explicitly-allowed Caddy filter. If we loop over this every minute or so, a download link will only remain active for a minute before ‘expiring’. We could shorten this interval to create a true ‘single use’ phishing link.
Lets try this out using a new campaign, so that we have new unique IDs:
We can now visit the download page and get our payload.

And after a minute, the download expires and the filter is updated so that only 1 ID is able to obtain the payload.
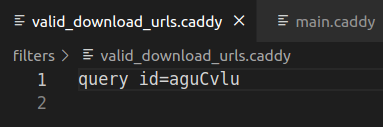
If we attempt to re-download the file, then we get an error message. This message would then be shown to any future visitors, such as a blue team response, or a email security product attempting to investigate a reported email.
